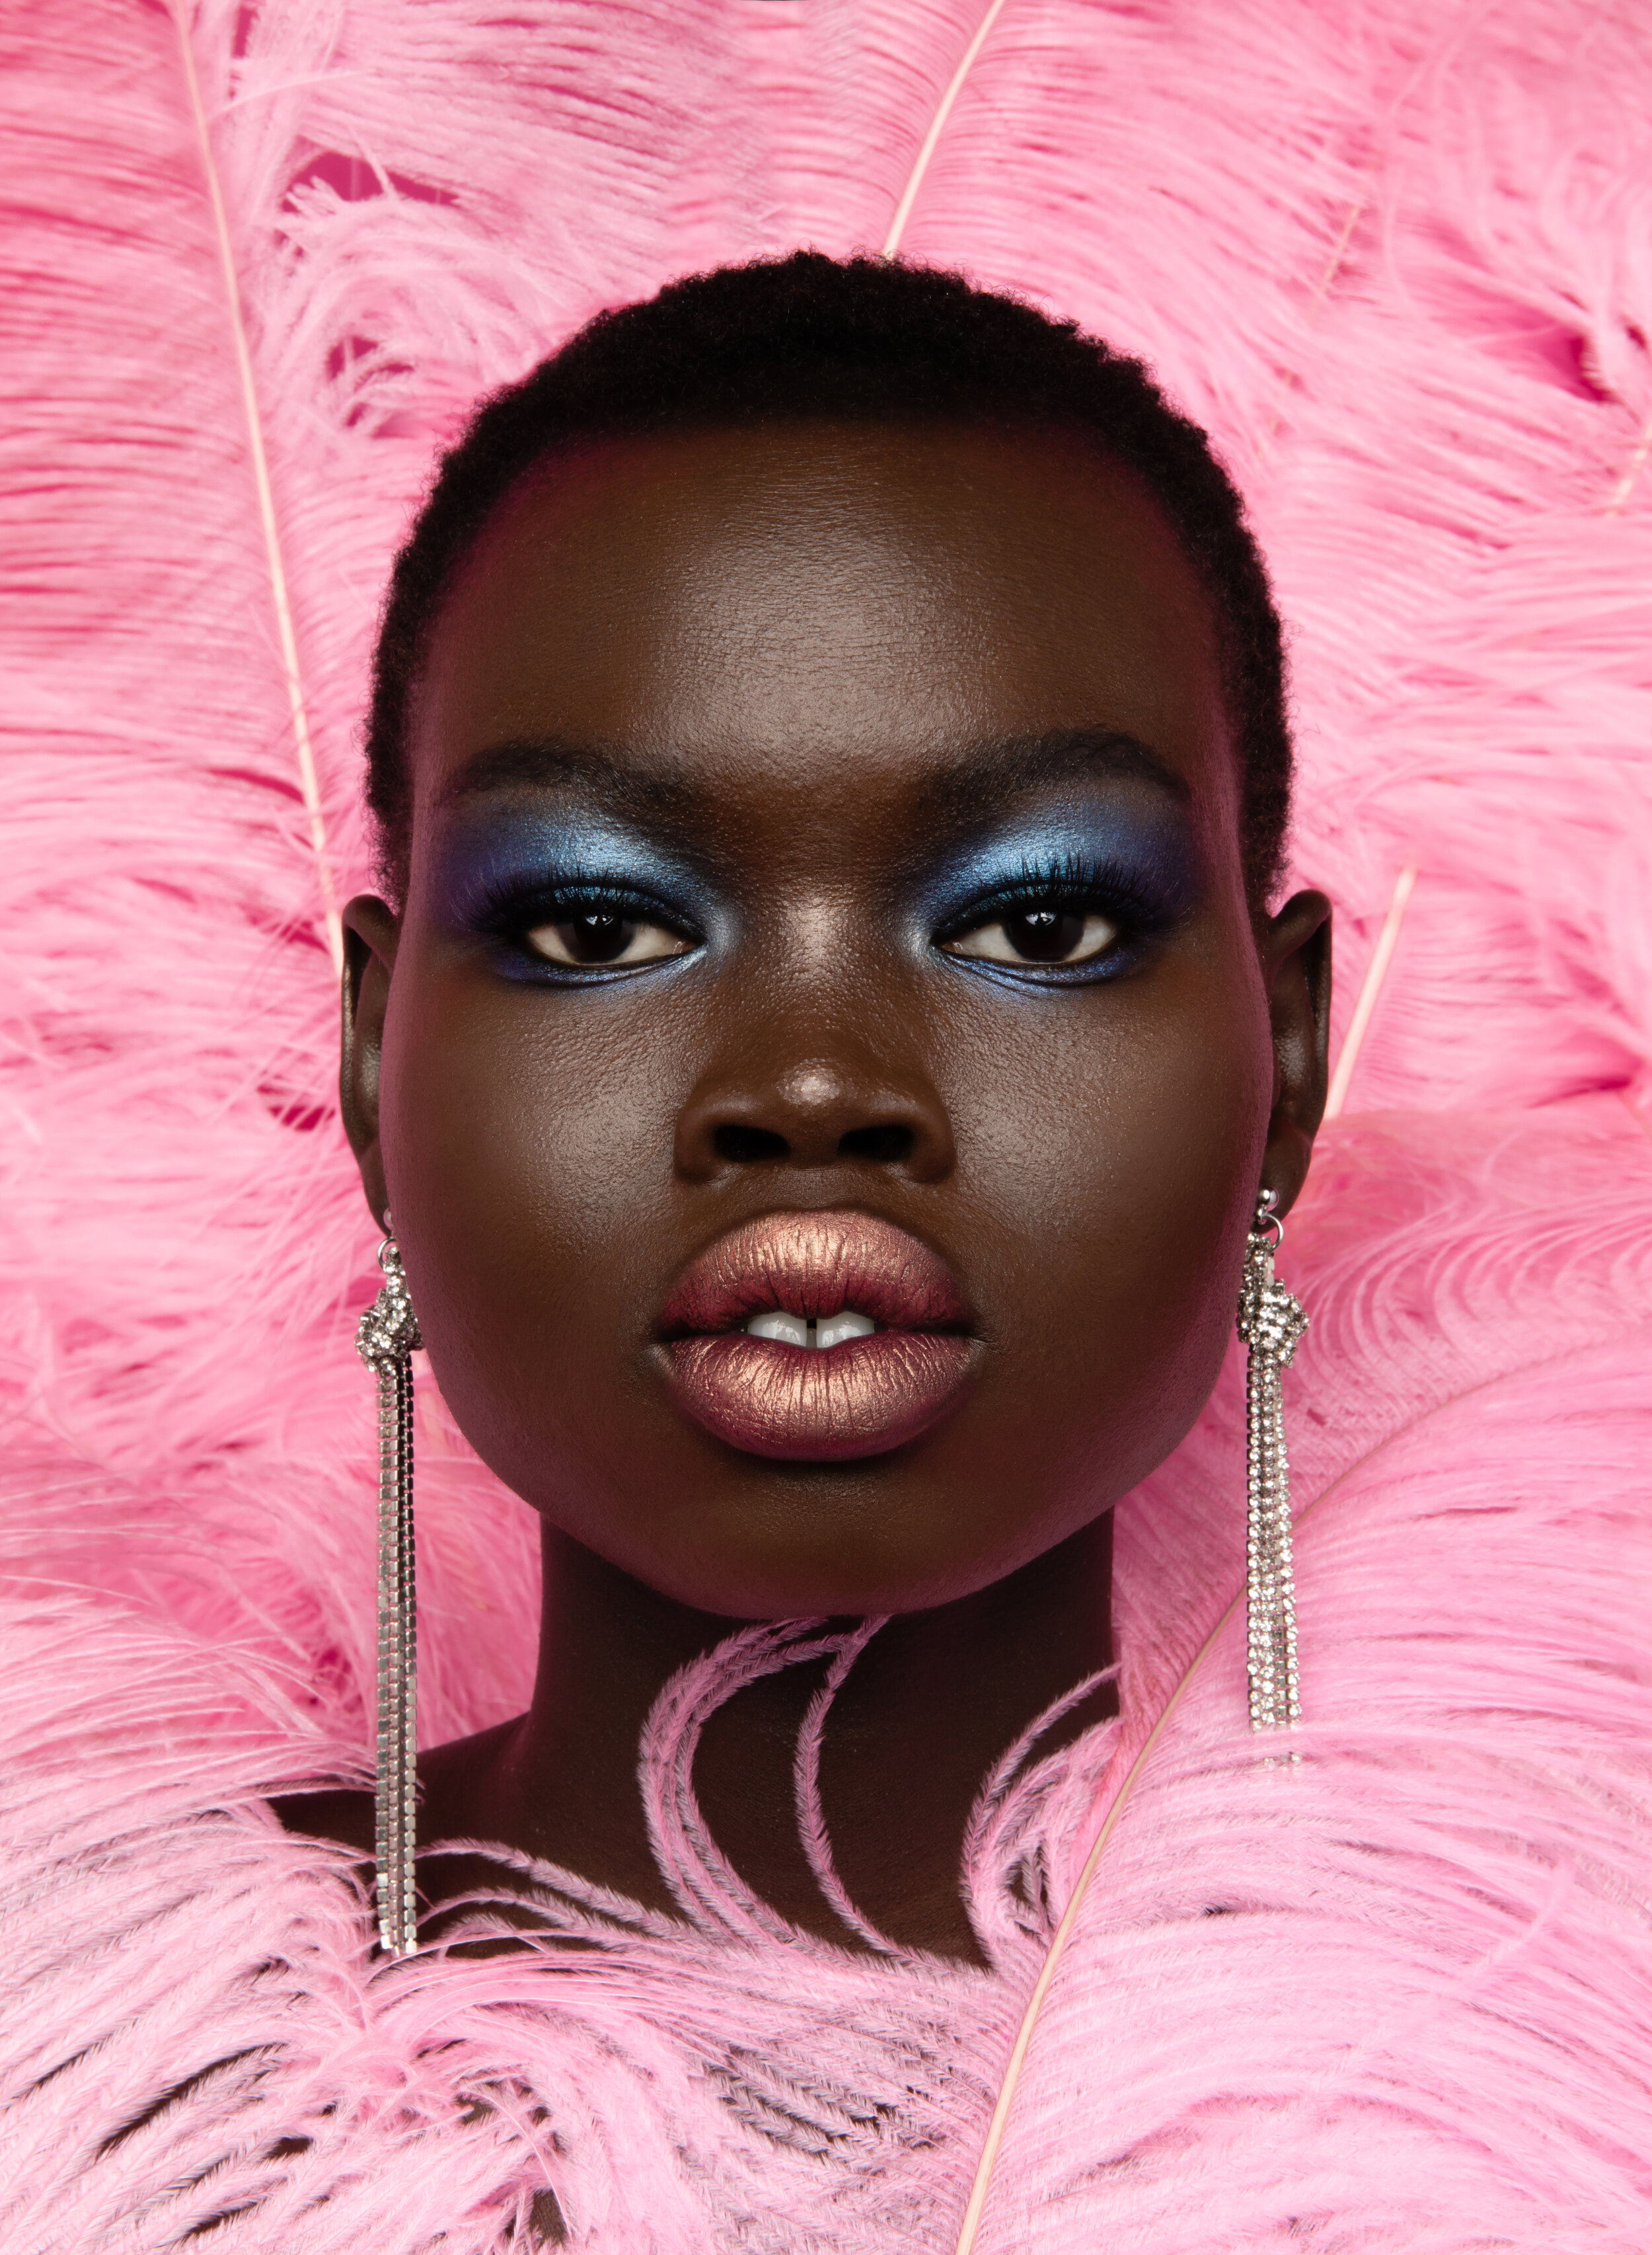
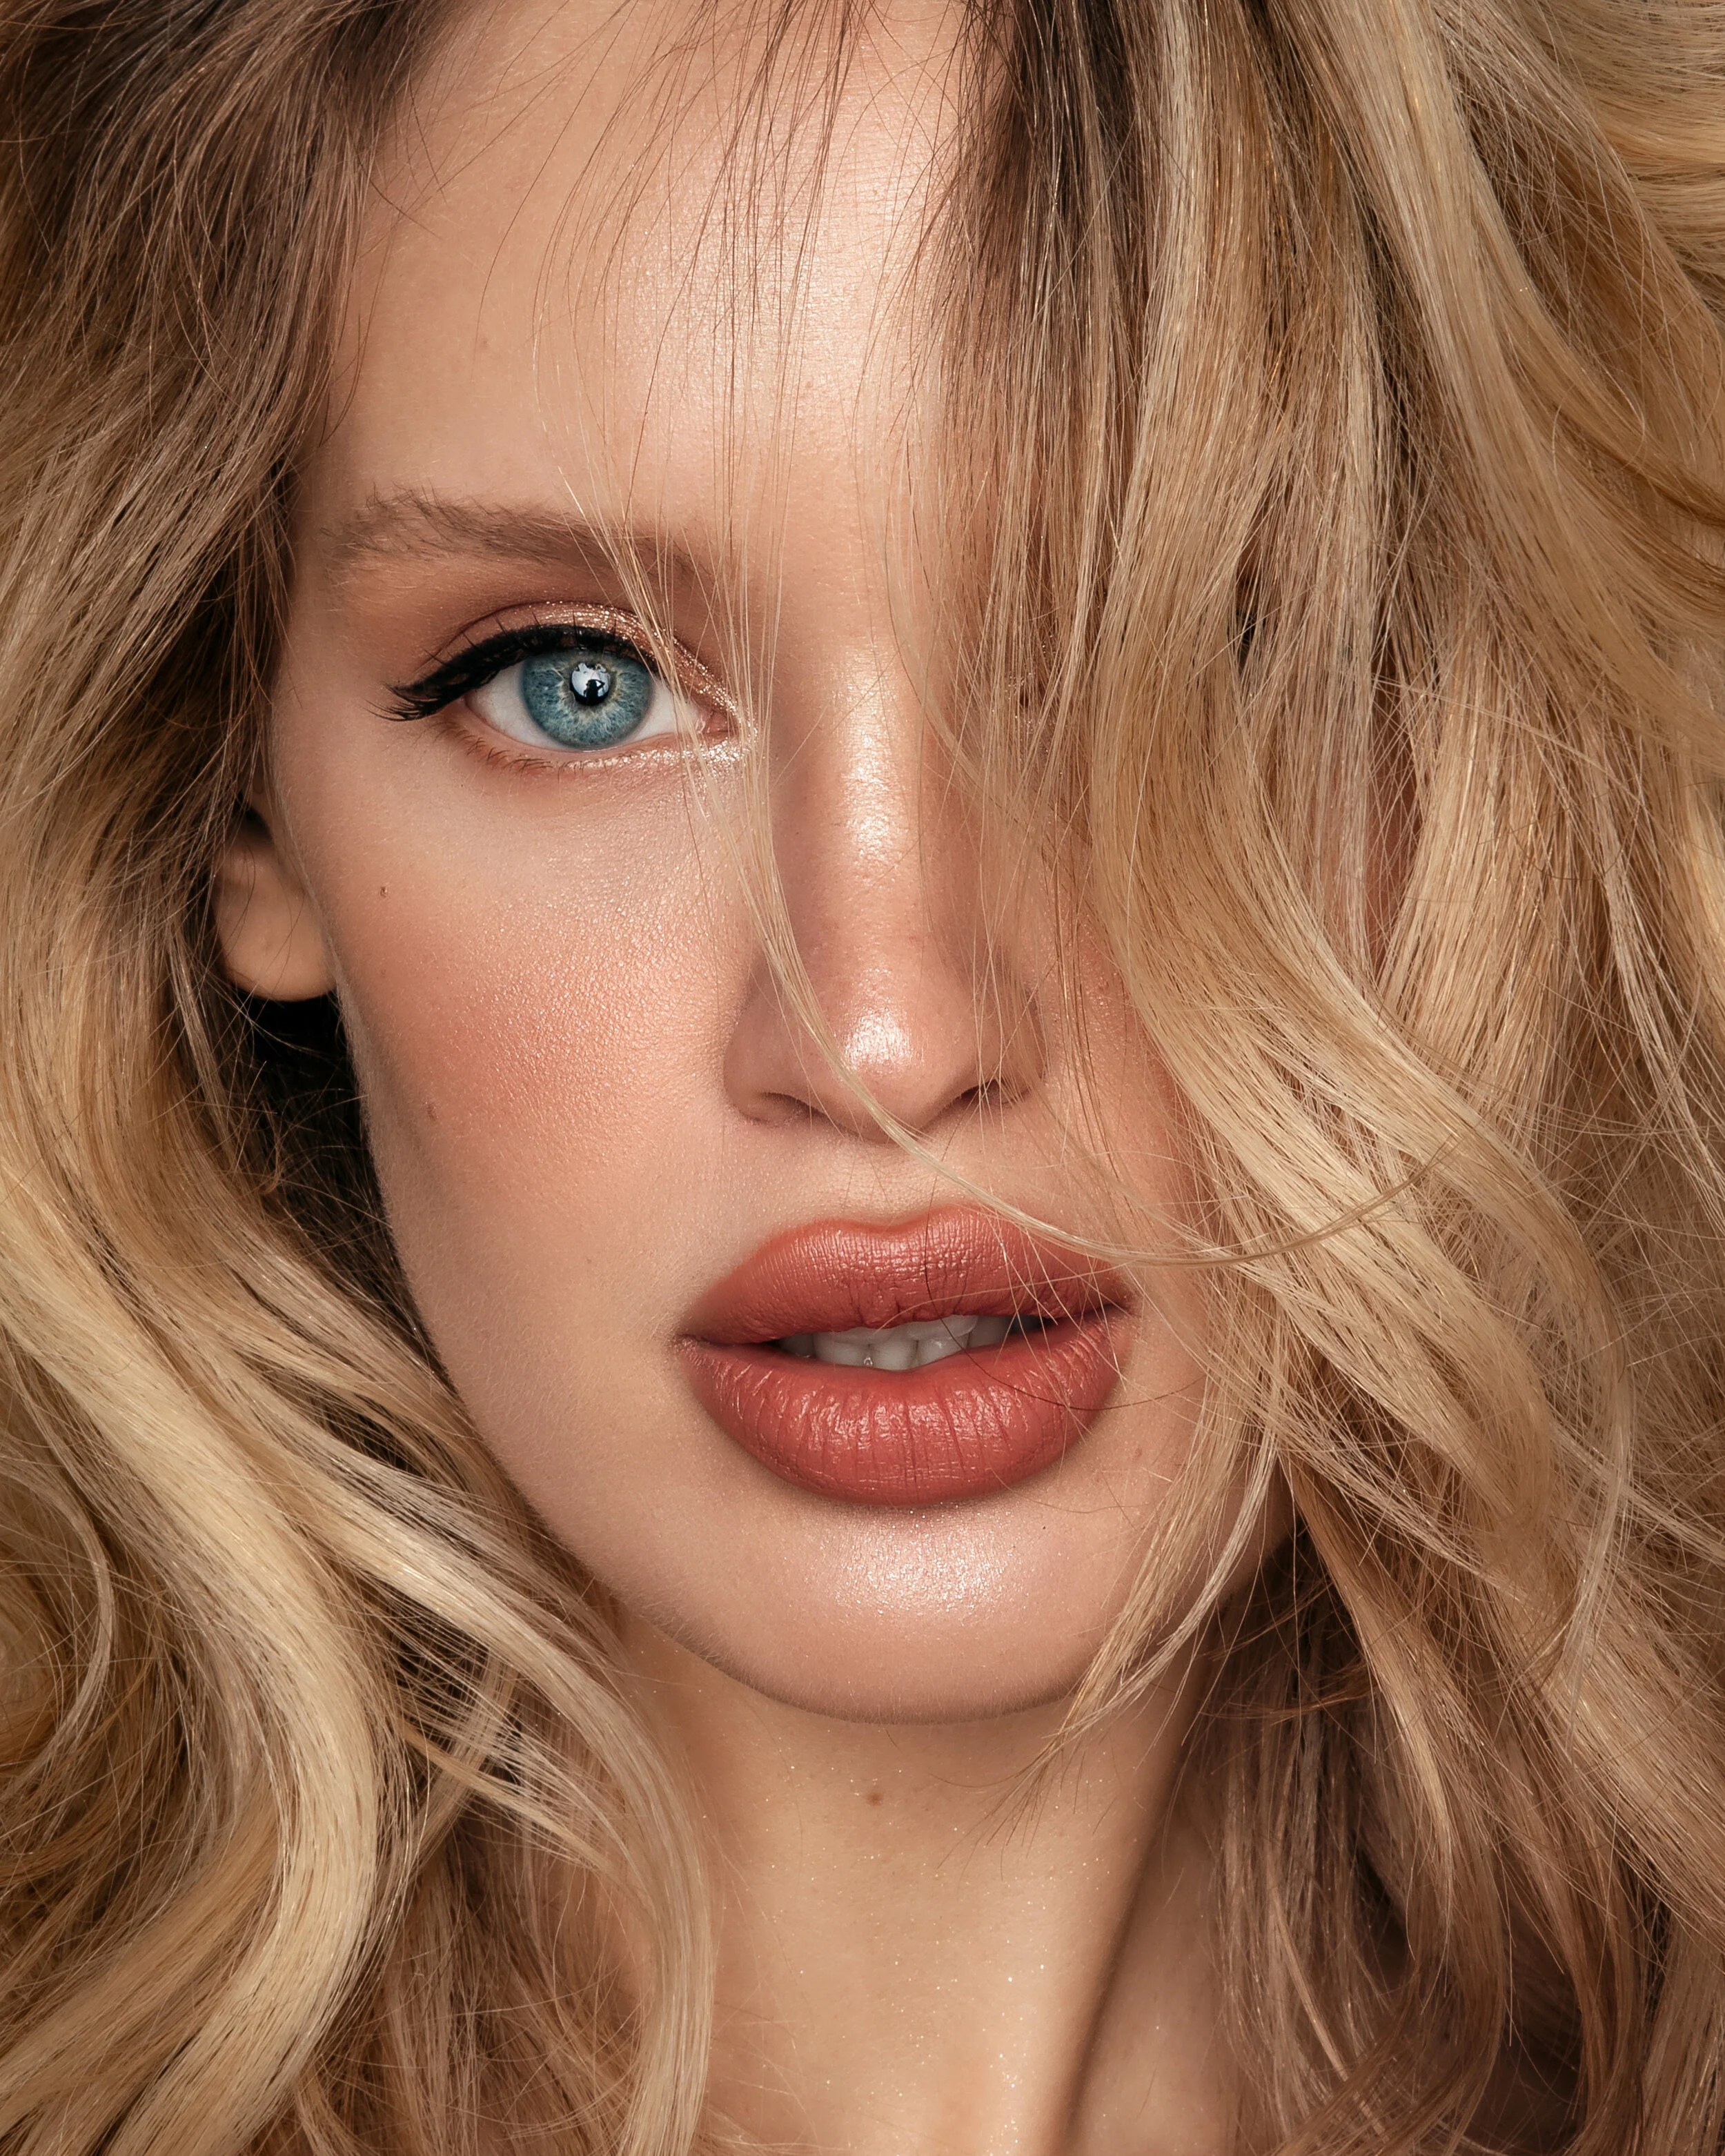
We face a lot of pressure in our youth and early adulthood to “figure things out” and to have a plan for the rest of our lives. We have to pick a career, spend tens of thousands of dollars on an education (or more in some cases), intern for free for months and hope to find an entry level position somewhere in our field so we can gradually pay off our debt. For some people, this is just the way it goes and they find themselves happily climbing corporate ladders or otherwise advancing, but for those of us who lose the drive or the passion for the careers we trained for it can be daunting to come to the realization that we crave change.
From a very young age, I knew that art made me happy. I loved just about anything that allowed me to be creative and I excelled at languages. I’d spend hours and hours on working on pen and ink drawings, losing myself in the details. I think I’ve always suffered from depression and major anxiety and art was my escape. It seemed only natural that I’d pursue a creative career but I wanted something with a bit more job security than just being an “artist.” My mother is an incredibly talented fine artist and I’d seen first hand what an uphill battle that life can sometimes be. After spending an exploratory first year at Emily Carr University of Art and Design, I decided to apply for the IDEA program at Capilano University. The three year course covered Illustration + Design and was well known as a practical program that prepped their students well for the real world. Unfortunately the real world I entered was recession-ravaged 2008 and no one was hiring. I was up to my eyeballs in student debt, working at coffee shops and handing out resumes on my days off. By the time I actually landed an internship that turned into a full-time job in a graphic design capacity, my skills were borderline obsolete. We’d been one of the last generations to go through school without a focus on web so unless I spent more money to refresh my skills, I was stuck in a weird limbo of occasional branding projects but mostly designing keynote presentations. I was making decent money, but I felt like I wasn’t making the best use of my skills. I had more to give and powerpoint just wasn’t doing it for me.
When I graduated from Capilano, my parents had gifted me a digital camera. I had used it to take angsty self portraits and made my friends dress up for mock fashion shoots in back alleys and abandoned warehouses. Something about taking photos was so satisfying to me. It turned into a little side hustle - I wasn’t making much with it, but I’d shoot headshots here and there, nightclub snaps and a couple of weddings. When I got my corporate job, I let it go for the most part but still indulged myself occasionally with some make up artist friends.
After four years of sitting at a desk, I made the slightly terrifying decision to convert to freelance. Having a skill like graphic design and also the contacts I’d made after my time in the corporate world really helped make the transition a bit easier. I knew I couldn’t expect to make up my salary based on photography alone so having additional skill to supplement was pretty essential. I also realized that graphic design doesn’t make me happy while photography does. I still do the occasional design project for select clients but photography has my heart.
When I was first exploring photography as a potential career, I existed in a bubble - I didn’t engage with other photographers because I underestimated the value of those connections, but as I started taking it more seriously, I began making friends within the community and that was the single biggest contributing factor to my career. I was no longer a lone wolf, struggling to figure everything out for myself. Having photo friends I could talk through anything career related helped and continues to help SO much. Sometimes we pass work onto each other if we’ve got scheduling conflicts or feel another’s style would be better suited but the ability to talk through all the little hiccups and technicalities with a peer who “gets it” is truly a lifeline. As I grew, so did my circle and I wouldn’t be where I am today without my incredible network of fellow photographers, models, hair and make up artists, stylists, designers and agents. So if you’re thinking you want to take the plunge and take your career to the next level, my best advice to you is to get involved in your local community. Freelancing can be a scary task to take on alone but when you surround yourself with the right people, it doesn’t have to be.


